

How to install
Configure a new update site in eclipse using these values:
-
 Name: Candy for AppFuse
Then, let eclipse check the site for updates and select Candy for AppFuse.
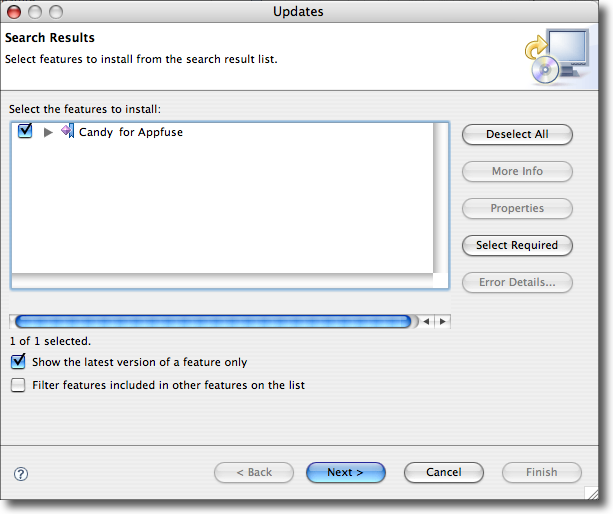
The download can take a it of time, since m2eclipse is also included.
Creating a new AppFuse project
Candy for AppFuse can create a new AppFuse project for you. Review AppFuse’s quickstart before continuing. Specially, you’ll want to download MySQL and have it installed and running.
The first time you create an AppFuse project (with or without using Candy) it can take a long time, since maven will download all the dependencies for compiling.
Because of that, it is recommended to open the maven console, in order to get some progress feedback (going for some beer or catching up with e-mail is another option).
First, open the console view in eclipse. Then, using the icons, display de m2 console.

We are now ready.
In Package Explorer, right click and New... > Project. Choose the New AppFuse Project wizard.
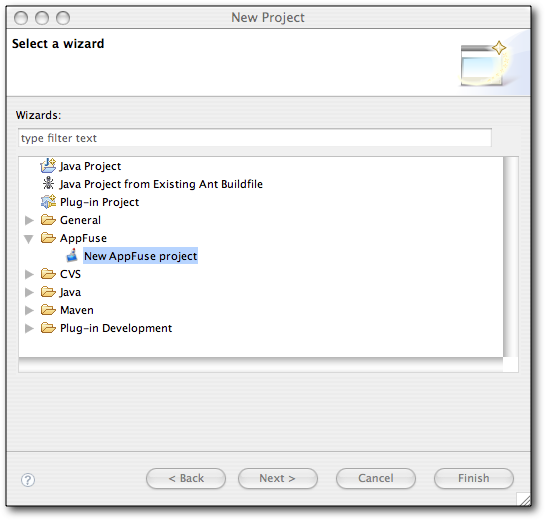
This brings up the project wizard. The first page will allow you to choose the project name and the project location (inside or outside of the workspace folder). Note that the project name will become the maven’s artifact name.
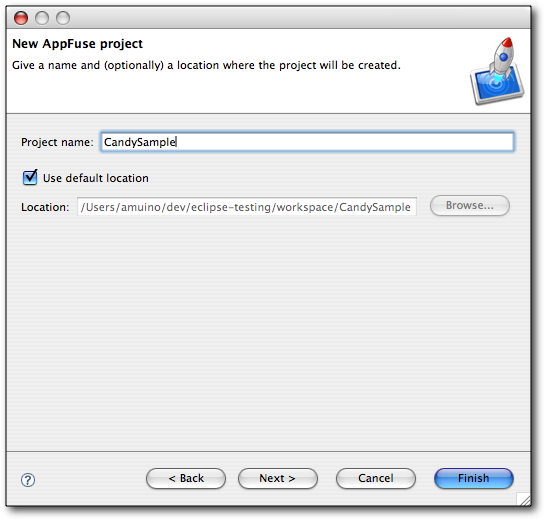
The second page allows you to specify AppFuse-specific information:
-
 Archetype to use (JSF, Spring MVC, Struts 2 or Tapestry).
 -
 The maven options (group id, version and if it is a SNAPSHOT version or not)
 -
 The runtime to use. The wizard presents a list of installed runtimes. AppFuse requires Java 5, so lower version runtimes are not listed.
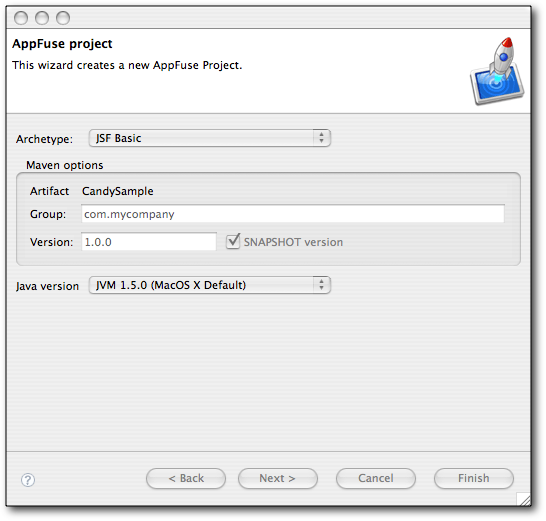
This page is optional. The default options used are those in the image above.
On pressing finish, the project is created. If eclipse is configured to automatically build the workspace, the project will be built, triggering the download of the dependencies. You can follow the progress on the m2 consoles. Or you can go for that beer we mentioned.

After the dependencies are downloaded and the build complete, you can see your new project:
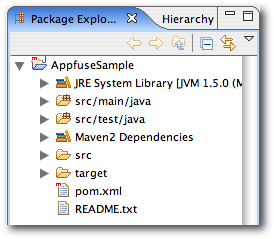
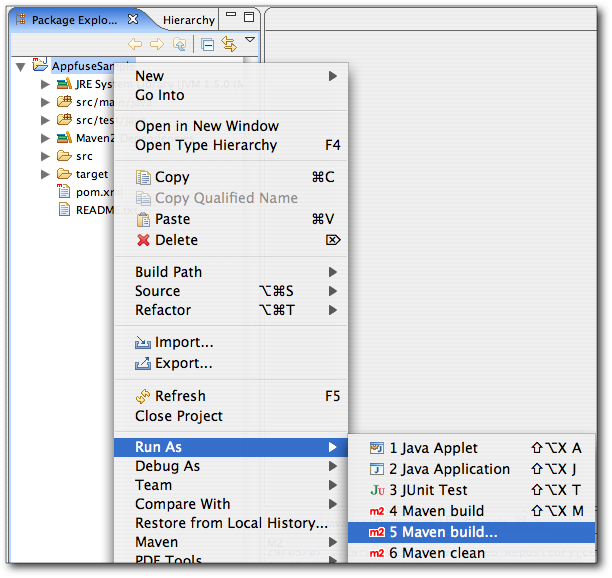
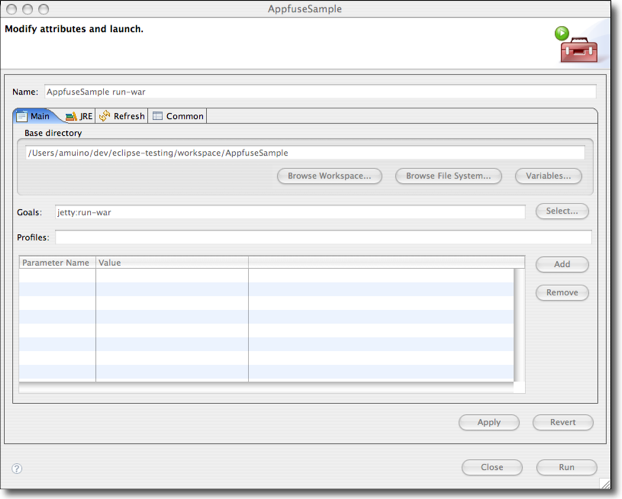
And run it using m2eclipse...
